WooCommerce is a popular e-commerce plugin that offers a myriad of benefits for online businesses. Featuring an easy-to-use interface and extensive customization options, it's a great service for managing your product inventory. Integrating WooCommerce with your Claris FileMaker solution allows you to manage products across platforms while maintaining accurate data. If you want to take your e-commerce business to the next level, integrating with Claris FileMaker is exactly what you need.

Getting Started with WooCommerce
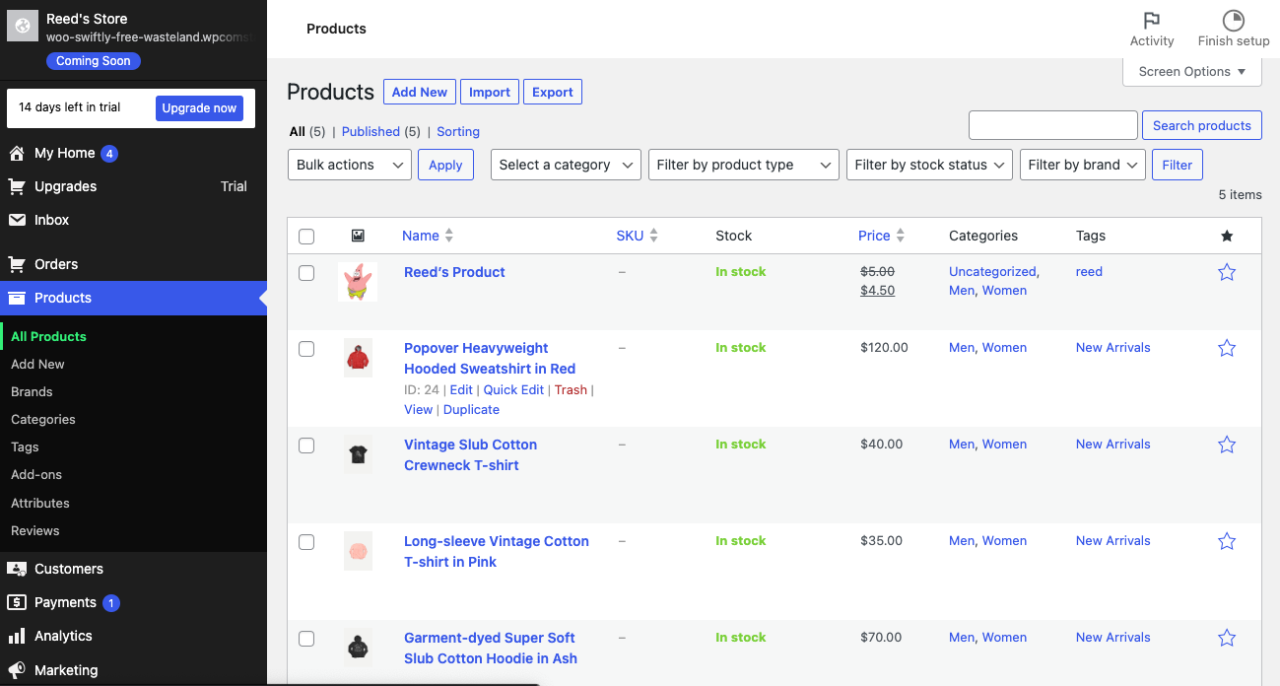
First, you will need to make a WooCommerce account. Navigate to https://woocommerce.com/start/?nuxentrysource=signup_menu#/ to get started. After creating your store, navigate to the Products page and confirm there are some pre-existing mock products in your store. If not, you’ll need to create some.
Next, click “Settings” which will open a set of new options, from which you can click “WooCommerce.” From this screen, click the “Advanced” tab.
Integrating with FileMaker
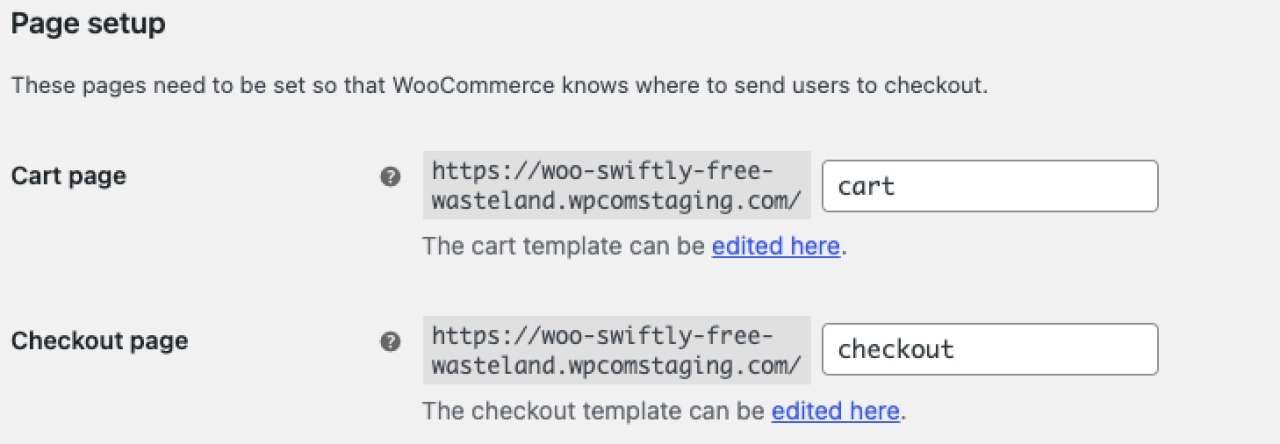
Next, open the demo FileMaker file. You can download the file at the end of this article. Copy and paste the URL from WooCommerce (as shown in the screenshot below) into the corresponding field on the homepage of the demo file.
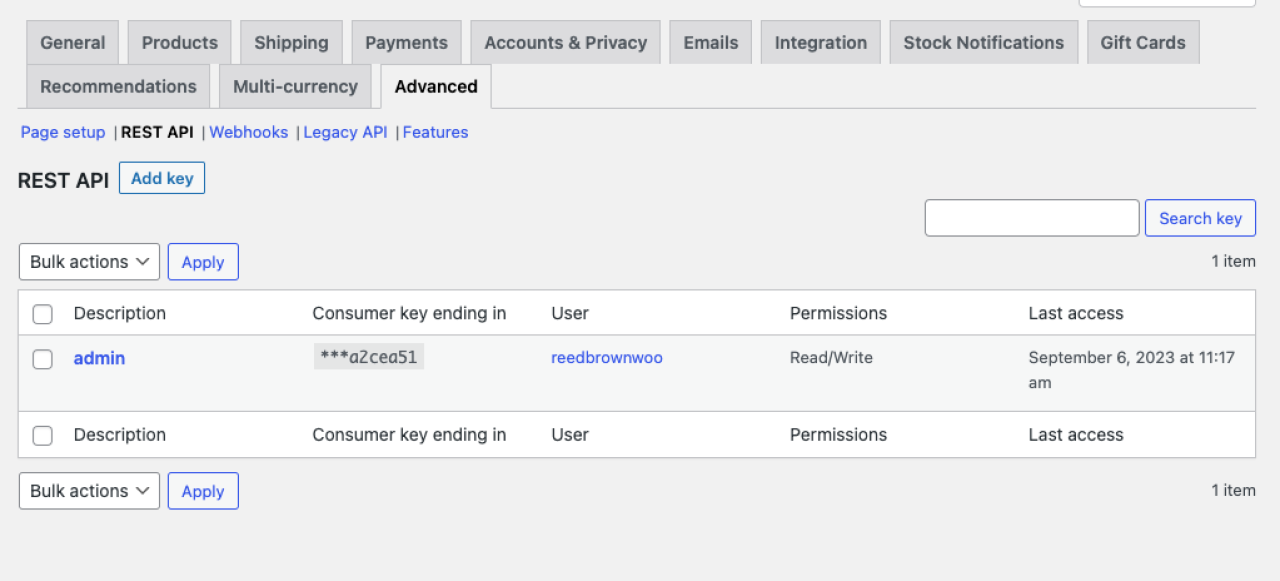
Click “REST API”, and then “Add Key.” Set the permissions to “read/write,” and name your key “Admin,” then click “Generate Key.” Don’t close this screen, as this information will only appear once! Copy your consumer key and your consumer secret into the FileMaker demo file. It’s also helpful to save it somewhere else that’s secure in case you need to access it again.
Creating Products
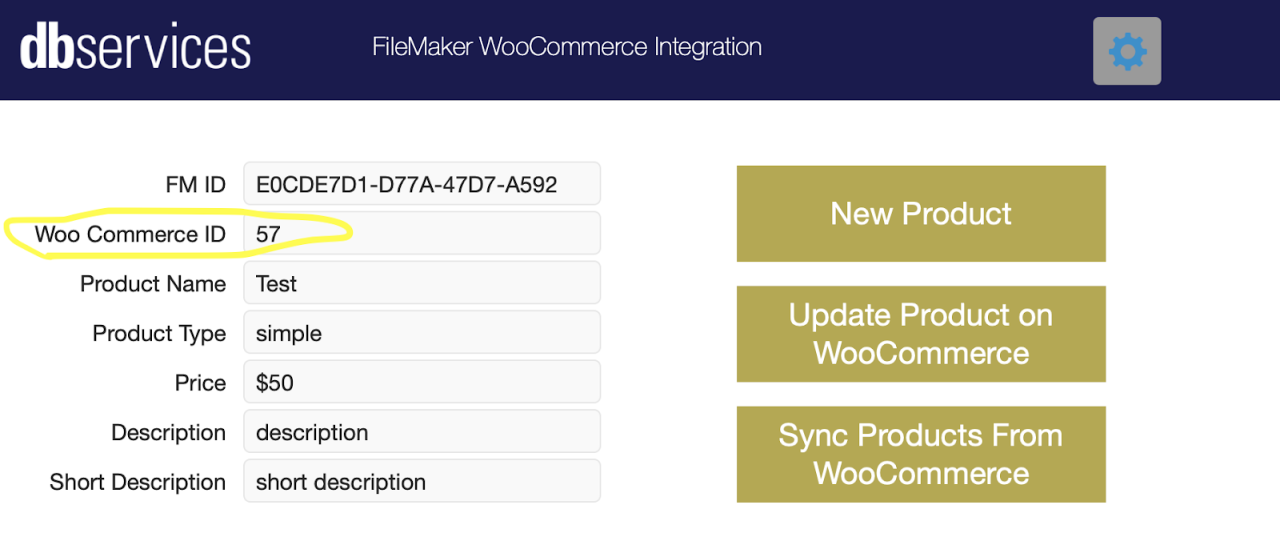
This integration is an incredibly easy way to migrate your data from FileMaker to WooCommerce for online display. For demo purposed, we’ll need to create some products. Click the “Manage Products” button, then click “New Product”. This will create a product in your FileMaker application. Fill out all of its information and then click “Add Product to WooCommerce.” You should now see that there is a WooCommerceID attached to your product and your product should be viewable in the Products dashboard of WooCommerce.
Updating Products
If you need to change the price or description of a product in FileMaker, you will likely want to also update that information on WooCommerce for your team to see. Change some information on your product in the demo file, and now click “Update Product on WooCommerce.” You should see your changes reflected in the Products dashboard of WooCommerce. Alternatively, you could edit your product in WooCommerce, and then click “Sync Products From WooCommerce,” and it will update all of your products in FileMaker.
Conclusion
WooCommerce allows you to easily manage products, orders, and customers in an easy-to-browse dashboard. Integrating it into your Claris FileMaker system can streamline your process, afford you greater security, and allow you to focus on what matters most. If you’re interested in integrating WooCommerce with FileMaker, contact us at DB Services, and we’d be happy to help.
Did you know we are an authorized reseller for Claris FileMaker Licensing?
Contact us to discuss upgrading your Claris FileMaker software.
Download the Claris FileMaker WooCommerce Integration File
Please complete the form below to download your FREE FileMaker file.

