Automating the generation and parsing of fillable PDFs in Salesforce Field Service can help you save time and eliminate human errors during data entry. Some service companies choose to use a fillable PDF form rather than a mobile app to fill out complex inspection reports because PDFs are presented in a format that is more straightforward. We will demonstrate how to do this using a Lightning Web Component to run PDFLib. PDFLib is a powerful and valuable JavaScript library that can be used to create and modify PDF documents and fill forms for a multitude of use cases, allowing your developers to automate generating and parsing your field service reports. This is typically used in relation to assets. PDFLib's features include supporting modification of existing documents and working in all JavaScript environments, allowing its users to not be limited to using Node or the Browser.
Loading the Library into Salesforce
To begin, you will want to download the minified version of the library, and review its API documentation. After that, you will begin loading the library into your Salesforce org.
You will want to add the minified version of pdf-lib.js as a static resource in Salesforce. Our sample code assumes that the static resource is named PDFLIB. Then, in the Javascript class that you plan to use the library in, import the library by using the following import:
import PDFLIB from "@salesforce/resourceUrl/PDFLib";
When working with libraries in LWCs, you will want to use the following function, which loads in your specified library. Once the library has been loaded in, it will be available in the DOM.
loadLibrary() {
Promise.all([loadScript(this, PDFLIB)]).then(() => {this.generateInspectionPDF(); });
}
PDF Generation
To begin PDF generation, you will need pdf templates that are then stored inside of Salesforce. You will grab the PDF as binary data from an Apex controller and then pass that to a load function in the library.
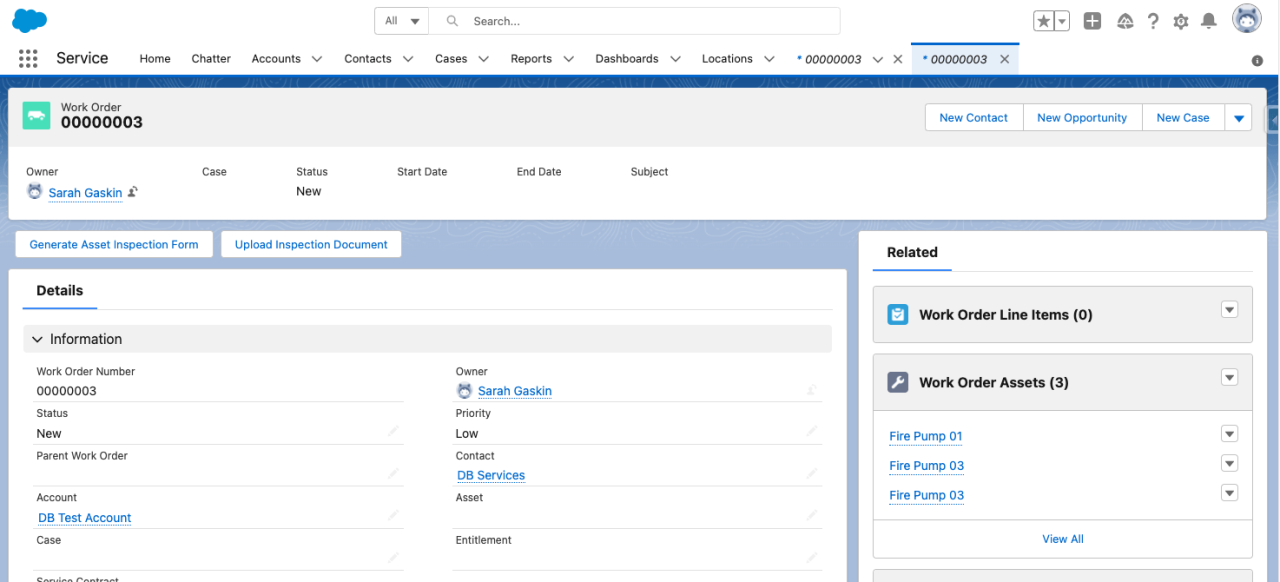
Before generating the PDF in Salesforce, you should consider creating pdf templates of the reports in a PDF editor of your choice. You will want to give each of the form fields a name that is unique enough so that you can easily extract data from it later. An example of this would be the following: Fire_Pump_Asset_Inspection__c-Certifications__c-AssetId-Checkbox-Red.
In the above example, we are using FieldType to specify the form field's type so that we can accurately extract data from the field later on. For example, to pull a value from a text field using PDFLib, you will use the getText() function. To pull a value from a checkbox, you will use the .isChecked() function. (Note: checkboxes return boolean results. If you want to grab the value from the checkbox, you will have to hardcode the value into the field name.)
const checkbox = form.getCheckBox(fieldNameValue);
if (checkbox.isChecked()) {

//do stuff

}
We are also separating each index with a hyphen rather than a period because we want to avoid interrupting PDFLib's existing logic; dot notation is used throughout the library.
To accurately relate the data that we are parsing to the right asset, we've put a placeholder for AssetId. We then use PDFLib to alter the names of the fillable fields so that we can replace our placeholder with the correct asset ID.
There are times that you might need to add more pages to a document because you are inspecting more than one asset on the job. PDFLib allows you to do this by using the copyPages function:
[currentPage] = await pdfDoc.copyPages(pdfDoc, [ithPage]);
pdfDoc.addPage(currentPage);
You can then generate the PDF by passing the pdf bytes to an Apex controller. (PDF bytes are acquired through the saveAsBase64() function.) When generating a report that has sub-assets, have the user input a rough estimate of the number of sub-assets that belong to a location. Pad that by 15-20%, and that's how you decide how many pages we need to copy in the copyPages function.
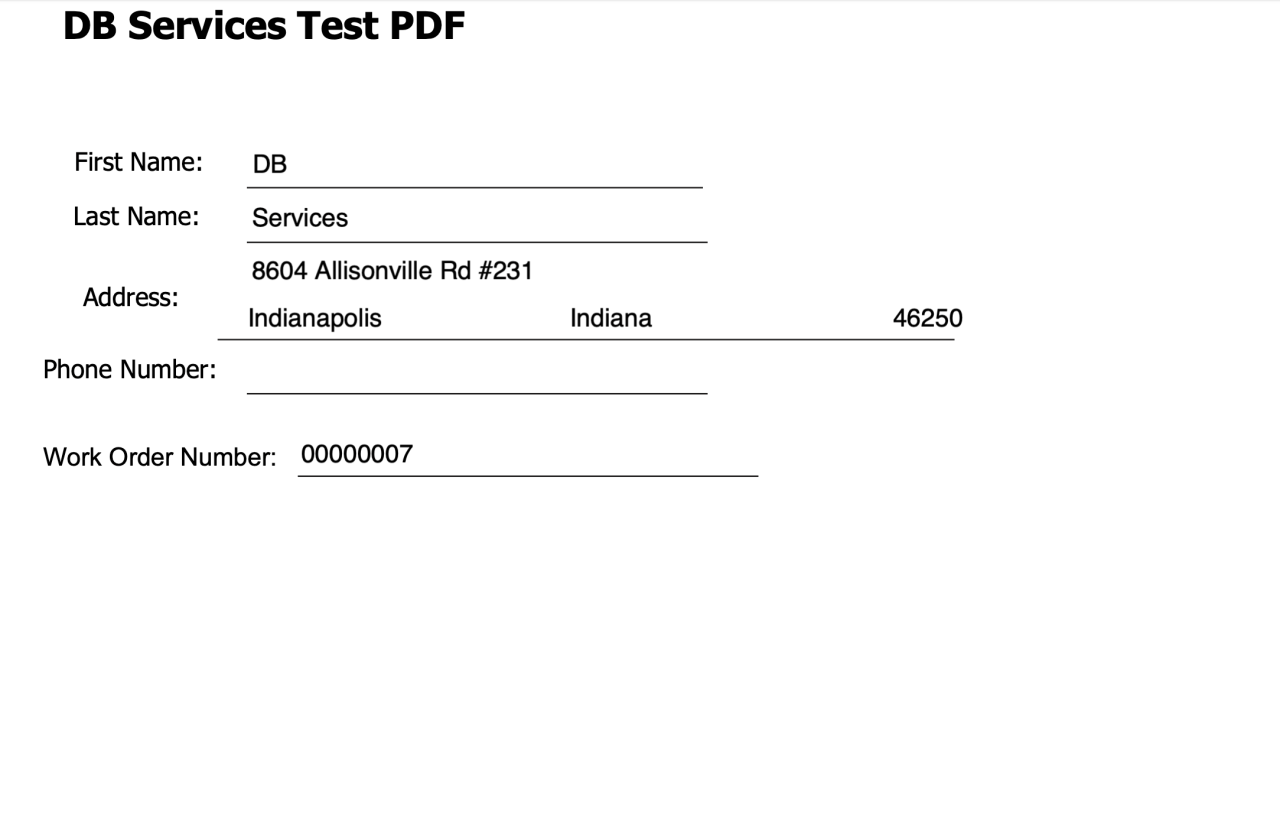
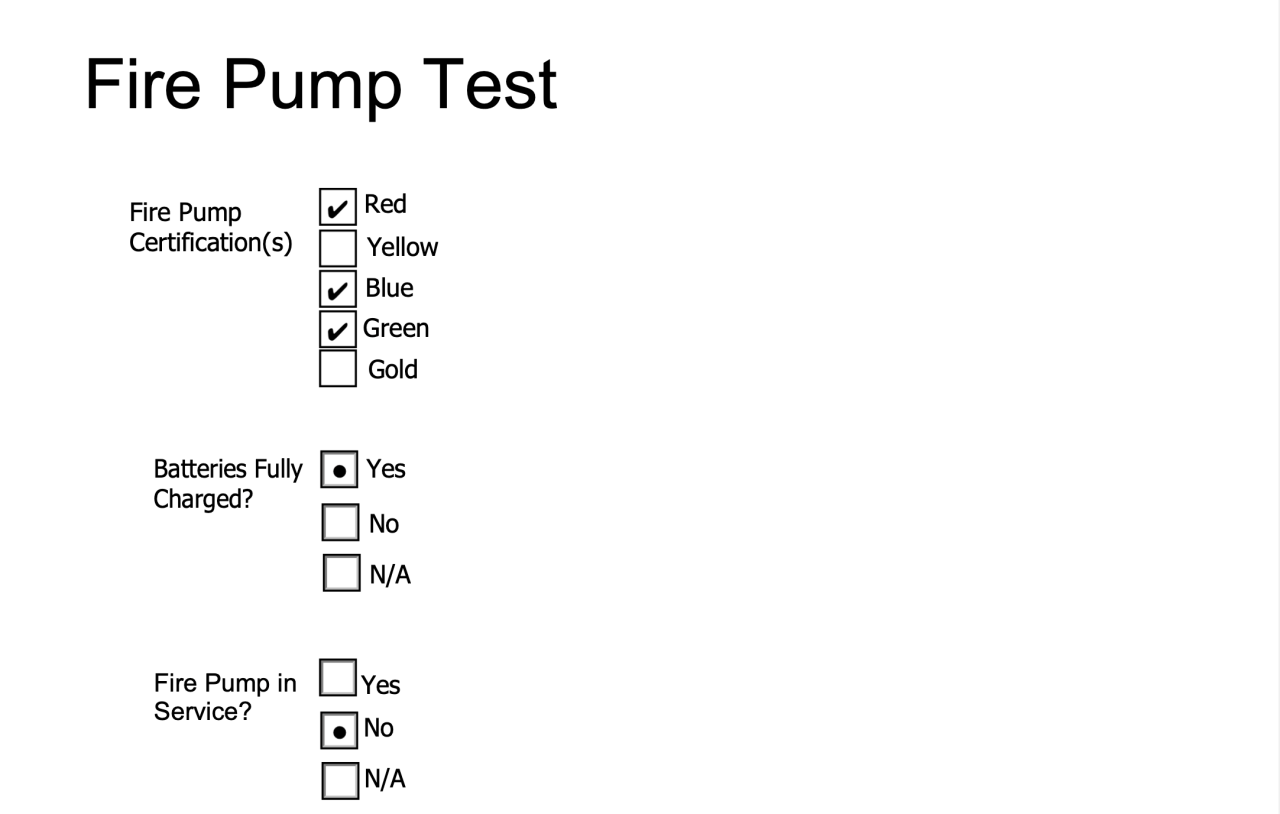
Parsing the PDF
Now that your tech has finished filling out all of their reports, they need to load them back into Salesforce. For the example below, we've used Salesforce's lightning:fileUpload component. This component passes back a list of content version IDs and content document IDs.
async handleUploadedFile(event) {
const uploadedFiles = event.detail.files;
this.contentVersionId = uploadedFiles[0].contentVersionId;
this.contentDocumentId = uploadedFiles[0].documentId; }
In our example, we retrieved the document as a form using PDFLib's getForm() function. Then we created maps to hold the Salesforce field names and field values.
//Retrieving the document as a form
const { PDFDocument, PDFName, PDFDict, PDFBool } = window.PDFLib;
const body = await getDocumentBody({ documentId: this.contentVersionId });
const pdfDoc = await PDFDocument.load(body);
const pages = pdfDoc.getPages();
const form = pdfDoc.getForm();
For each page of the uploaded form, we grab its respective field names through the page.node.Annots() function. Then we loop through the annots, and in each iteration of the loop, we grab the unique name that we had previously assigned to each field.
//Grabbing annots from form and looping through those
const acroForm = page.doc.catalog.lookup(PDFName.of("AcroForm", PDFDict)); acroForm.set(PDFName.of("NeedAppearances"), PDFBool.True);
const annots = page.node.Annots();
for (let ithAnnot = 0; ithAnnot < annots.size(); ithAnnot++) {
const annot = annots.lookup(ithAnnot, PDFDict);
 const fieldName = annot.lookup(PDFName.of("T"));
const fieldNameValue = fieldName.value;
//Radio button example
const radioGroup = form.getRadioGroup(fieldNameValue);
 fieldValue = radioGroup.getSelected();
The first index of our unique field name will always be the name of the custom object, and the second index will always be the field name. We grab the Salesforce field name and put it into a variable, this will be our key in our map. We then extract the form field type, which allows us to accurately select the function that we need to use to get the value from the form field. Once our map is completed, we use an Apex controller to perform an upsert operation on it.
Sub-Assets
Often, you will have several sub-assets relating back to a primary asset. These will take a similar approach as regular assets. We relate the sub-asset back to its parent asset and location. The naming convention will be like the one that we set up for regular assets: Name_of_Salesforce_Object-Name_of_Objects_Field-Asset_Type-AssetId-FieldType-FieldValueIfCheckbox. We loop through the sub-assets and create records in the respective custom object in Salesforce.
Error Handling
Technicians may be uploading several reports throughout the day, so adding a little bit of error trapping can help ease the process for them. We suggest adding a hidden field to each PDF called workOrderId. While generating the document, we can replace that field with the actual work order ID of the current work order. When someone uploads that PDF later on, it will check to make sure they are uploading to the right work order. If they aren't, it throws an error with the work order ID they should be uploading to.
await getWorkOrderNumber({ recordId: workOrderIdValue })
.then((workOrderNumber) => {
this.throwError("You are trying to upload paperwork for work order # " + workOrderNumber +". Please go to that work order and upload the paperwork there." );
 }).catch((error) => {
//Error trap for misc errors such as the record being deleted
this.throwError("You are trying to upload paperwork to the wrong work order." ); });
Conclusion
PDFLib is a powerful tool for any organization using Salesforce Field Service. The ability to automate the generation and parsing of your service reports will eliminate user error during data entry and it will give your end users more time during their day to focus on other important tasks. If you need help generating fillable PDFs in Salesforce Field Service, please contact DB Services and let's discuss what we can accomplish together.
Need help with your Salesforce digital transformation? Contact us to discuss Salesforce consulting, implementation, development, and support!
Download the PDF Generation and Parsing for Salesforce Field Service Demo File
Please complete the form below to download your FREE Salesforce file.


